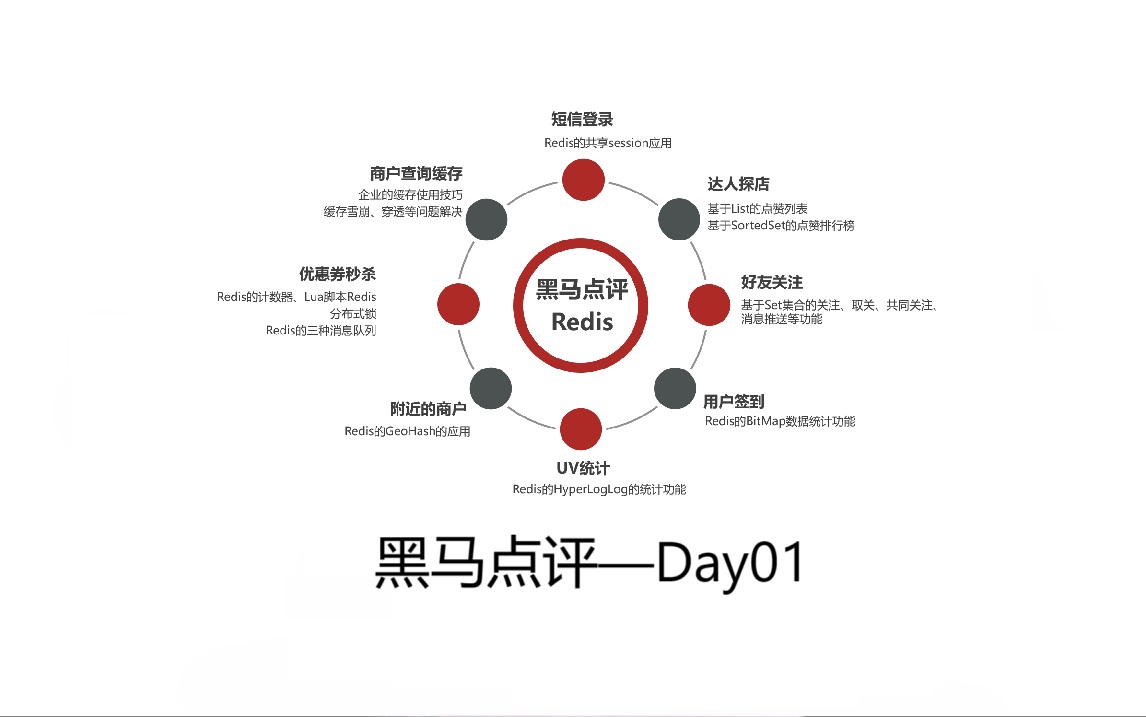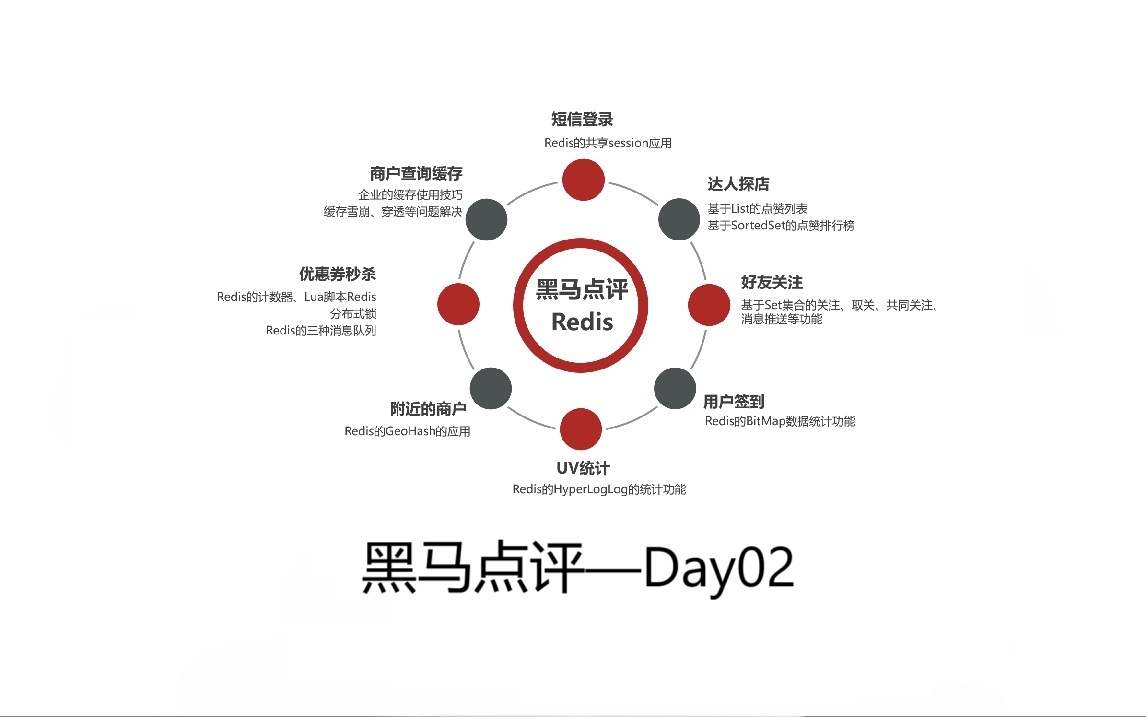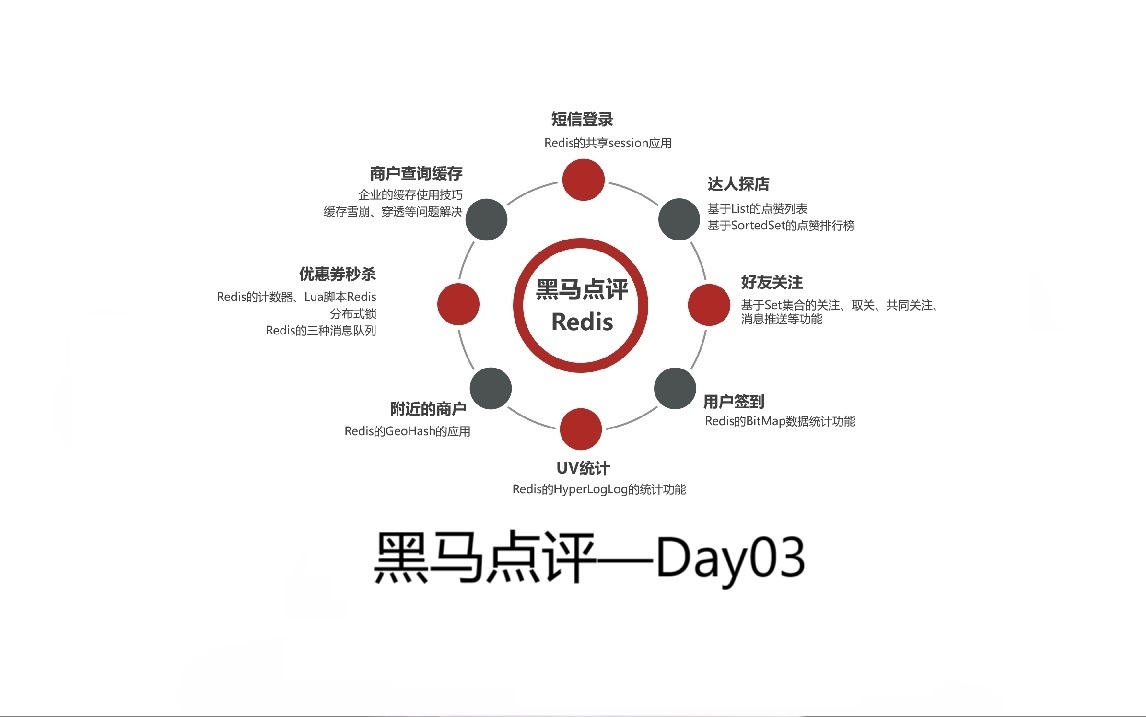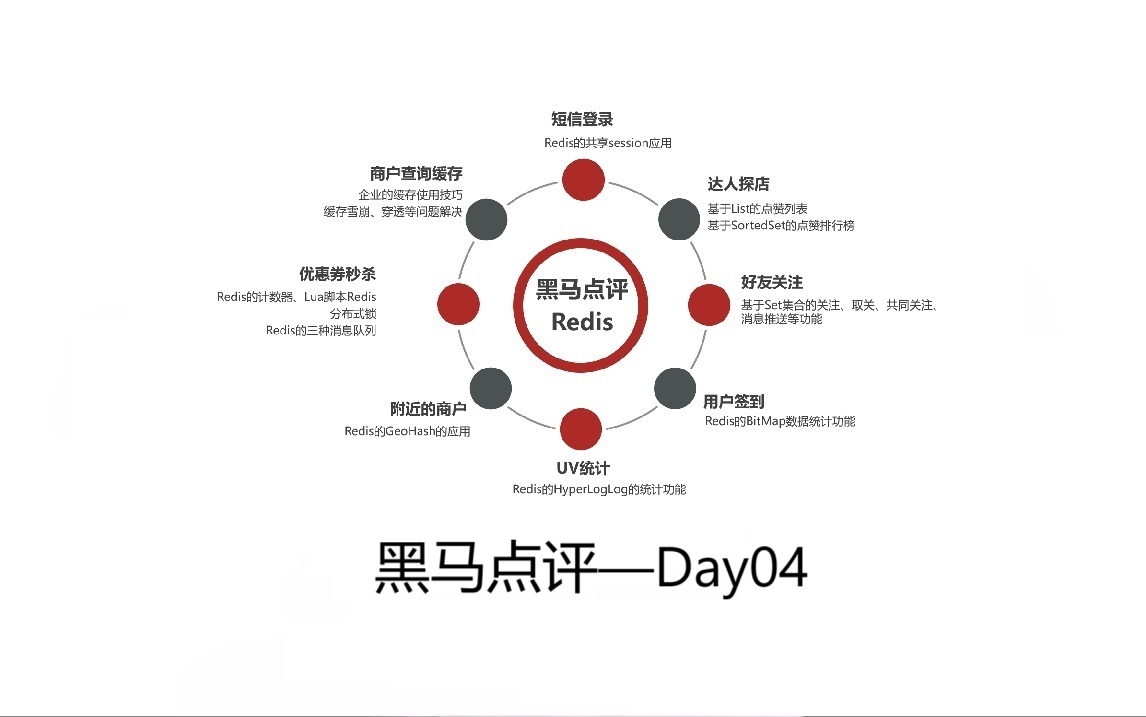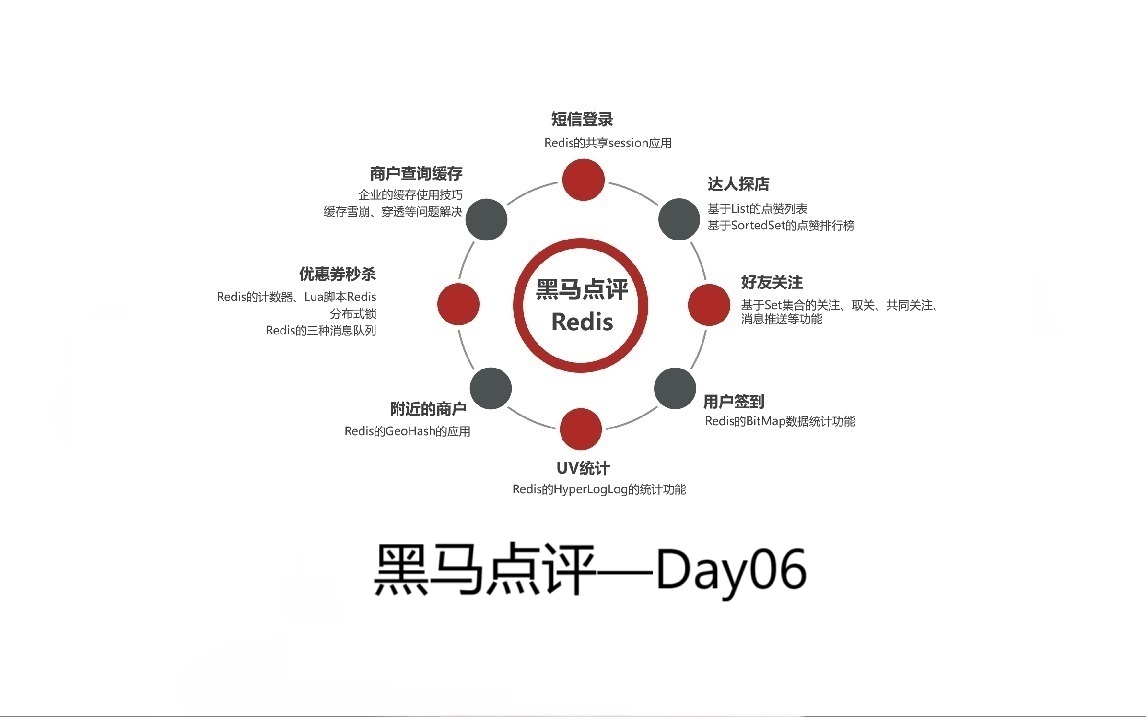
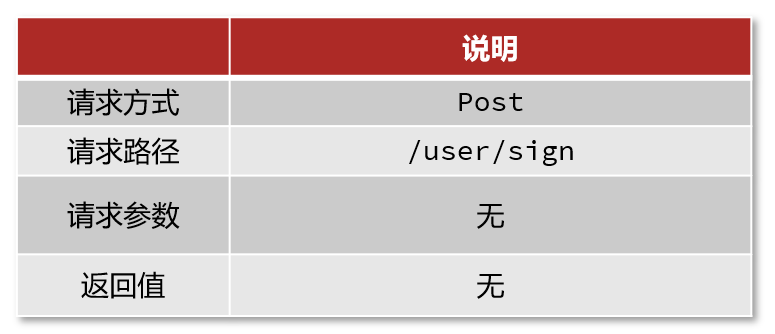
黑马点评开发日志Day07——附近商铺、用户签到、UV统计
2025.09.28
黑马点评开发日志Day07—附近商铺、用户签到、UV统计
一、附近商铺
1.1 GEO数据机构的基本用法
- GEO就是Geolocation的简写形式,代表地理坐标。Redis在3.2版本中加入了对GEO的支持,允许存储地理坐标信息,帮助我们根据经纬度来检索数据。常见的命令有:
- GEOADD:添加一个地理空间信息,包含:经度(longitude)、纬度(latitude)、值(member)
- GEODIST:计算指定的两个点之间的距离并返回
- GEOHASH:将指定member的坐标转为hash字符串形式并返回
- GEOPOS:返回指定member的坐标
- GEORADIUS:指定圆心、半径,找到该圆内包含的所有member,并按照与圆心之间的距离排序后返回。6.2以后已废弃
- GEOSEARCH:在指定范围内搜索member,并按照与指定点之间的距离排序后返回。范围可以是圆形或矩形。6.2.新功能
- GEOSEARCHSTORE:与GEOSEARCH功能一致,不过可以把结果存储到一个指定的key。 6.2.新功能
1.2 练习Redis的GEO命令
-
需求:
- 添加下面几条数据:
- 北京南站( 116.378248 39.865275 )
- 北京站( 116.42803 39.903738 )
- 北京西站( 116.322287 39.893729 )
- 计算北京西站到北京站的距离
- 搜索天安门( 116.397904 39.909005 )附近10km内的所有火车站,并按照距离升序排序
- 添加下面几条数据:
-
代码
1 | # 添加数据 |
1.3 附近商户搜索
- 在首页中点击某个频道,即可看到频道下的商户:
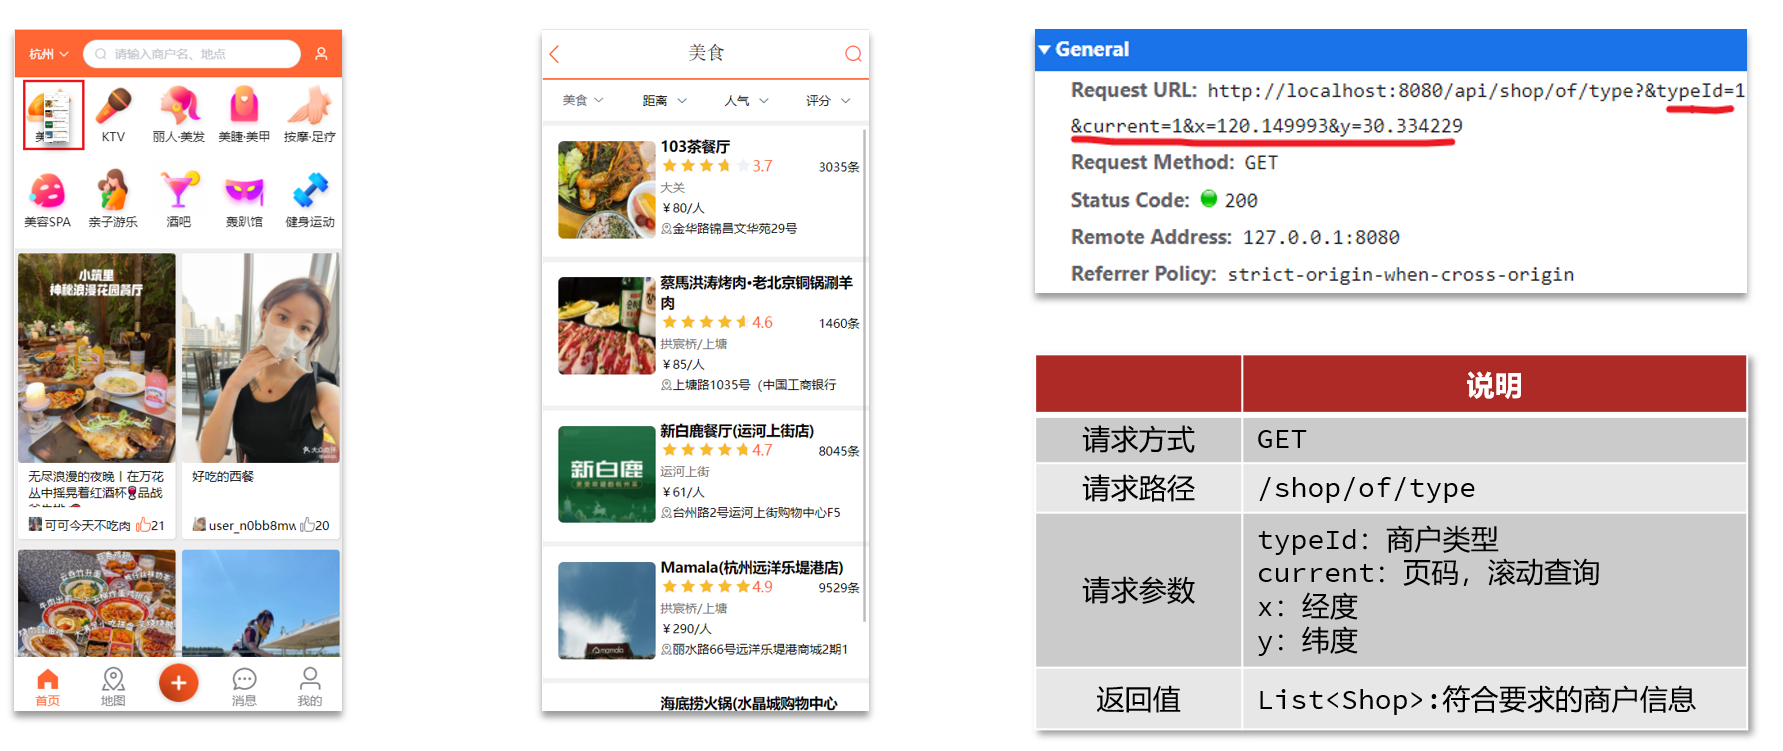
- 按照商户类型做分组,类型相同的商户作为同一组,以typeId为key存入同一个GEO集合中即可

1.4 批量导入商户数据到Redis
1 |
|
1.5 实现附近商户查询功能
1.5.1 ShopController
1 |
|
1.5.2 IShopService
1 | public interface IShopService extends IService<Shop> { |
1.5.3 ShopServiceImpl
1 |
|
二、用户签到
2.1 BitMap用法
-
假如我们用一张表来存储用户签到信息,其结构应该如下:
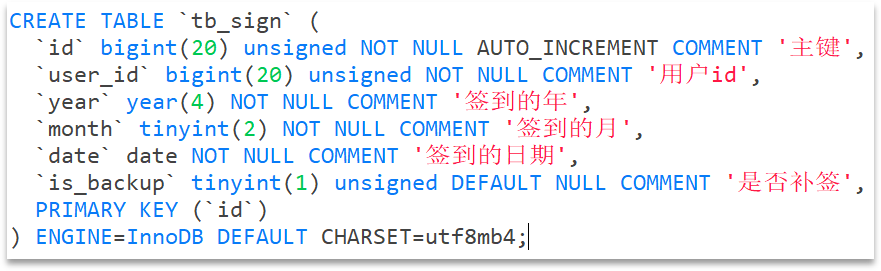
- 假如有1000万用户,平均每人每年签到次数为10次,则这张表一年的数据量为 1亿条
- 每签到一次需要使用(8 + 8 + 1 + 1 + 3 + 1)共22 字节的内存,一个月则最多需要600多字节
-
我们按月来统计用户签到信息,签到记录为1,未签到则记录为0
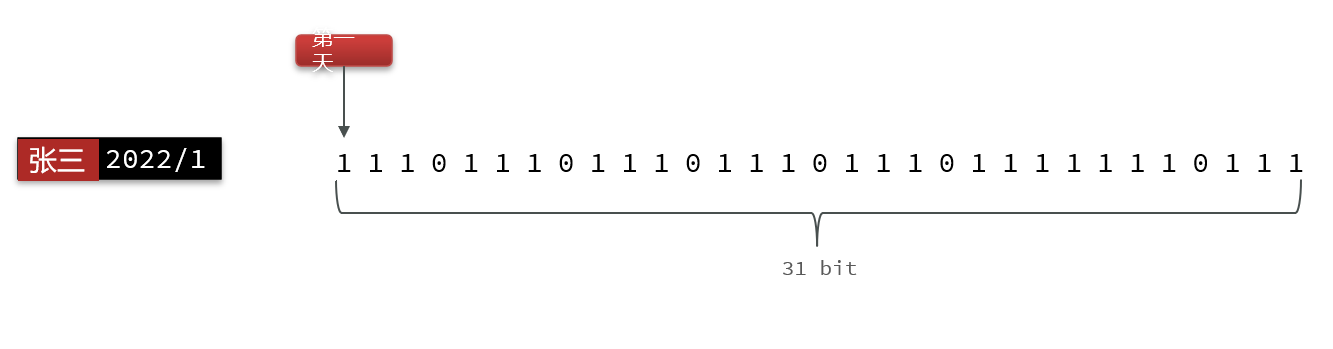
-
把每一个bit位对应当月的每一天,形成了映射关系。用0和1标示业务状态,这种思路就称为位图(BitMap)。
-
Redis中是利用string类型数据结构实现BitMap,因此最大上限是512M,转换为bit则是 2^32个bit位。
-
BitMap的操作命令有:
- SETBIT:向指定位置(offset)存入一个0或1
- GETBIT :获取指定位置(offset)的bit值
- BITCOUNT :统计BitMap中值为1的bit位的数量
- BITFIELD :操作(查询、修改、自增)BitMap中bit数组中的指定位置(offset)的值
- BITFIELD_RO :获取BitMap中bit数组,并以十进制形式返回
- BITOP :将多个BitMap的结果做位运算(与 、或、异或)
- BITPOS :查找bit数组中指定范围内第一个0或1出现的位置
2.2 签到功能
- 需求:实现签到接口,将当前用户当天签到信息保存到Redis中
- 提示:因为BitMap底层是基于String数据结构,因此其操作也都封装在字符串相关操作中了
2.2.1 UserController
1 |
|
2.2.2 IUserService
1 | public interface IUserService extends IService<User> { |
2.2.3 UserServiceImpl
1 |
|
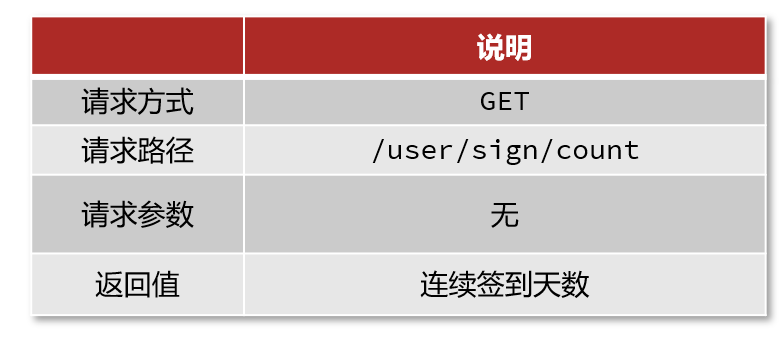
2.3 统计连续签到天数
-
问题1:什么叫做连续签到天数?
- 从最后一次签到开始向前统计,直到遇到第一次未签到为止,计算总的签到次数,就是连续签到天数。
-
问题2:如何得到本月到今天为止的所有签到数据?
- BITFIELD key GET u[dayOfMonth] 0
-
问题3:如何从后向前遍历每个bit位?
- 与 1 做与运算,就能得到最后一个bit位。
- 随后右移1位,下一个bit位就成为了最后一个bit位。
-
需求:实现下面接口,统计当前用户截止当前时间在本月的连续签到天数
2.3.1 UserController
1 |
|
2.3.2 IUserService
1 | public interface IUserService extends IService<User> { |
2.3.3 UserServiceImpl
1 |
|
三、UV统计
3.1 HyperLogLog用法
-
首先我们搞懂两个概念:
- UV:全称Unique Visitor,也叫独立访客量,是指通过互联网访问、浏览这个网页的自然人。1天内同一个用户多次访问该网站,只记录1次。
- PV:全称Page View,也叫页面访问量或点击量,用户每访问网站的一个页面,记录1次PV,用户多次打开页面,则记录多次PV。往往用来衡量网站的流量。
-
UV统计在服务端做会比较麻烦,因为要判断该用户是否已经统计过了,需要将统计过的用户信息保存。但是如果每个访问的用户都保存到Redis中,数据量会非常恐怖。
-
Hyperloglog(HLL)是从Loglog算法派生的概率算法,用于确定非常大的集合的基数,而不需要存储其所有值。相关算法原理大家可以参考:https://juejin.cn/post/6844903785744056333#heading-0
-
Redis中的HLL是基于string结构实现的,单个HLL的内存永远小于16kb,内存占用低的令人发指!作为代价,其测量结果是概率性的,有小于0.81%的误差。不过对于UV统计来说,这完全可以忽略。
-
HyperLogLog的常用命令有:
- PFADD key element [element …]:将一个或多个元素添加到HyperLogLog中
- PFCOUNT key [key …]:返回给定HyperLogLog的基数估算值
- PFMERGE destkey sourcekey [sourcekey …]:将多个HyperLogLog合并为一个